|
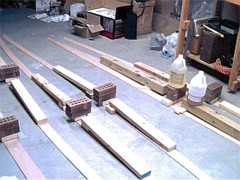
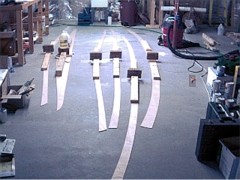
Because of its overall length, three lengths of panel need to be joined together to make the full length panels which will then be stitched together. Two eight foot sections will be joined near the middle of the boat and then the remaining one foot sections will be attached near the stern. All of the panels are nicely labeled and I will assemble the six panels that will make up the left side of the canoe first. My floor is pretty flat and so I have decided to prepare the joints on the floor rather than use a table.
The panel joints are very easy to align because the matching square edges are just carefully butted together. The joint is glued with epoxy and a strip of fiberglass tape is placed over the joint for reinforcement. The joint is covered with a provided strip of Mylar and then bricks are piled on to weight it down during the 24-hour cure. I have added some weight on either side of the joint to help keep everything flat. |
|
|
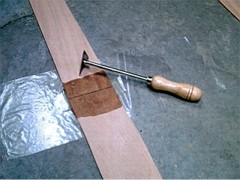
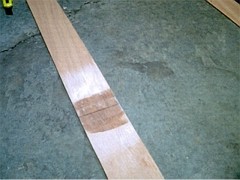
After the epoxy cures, the weighting materials and Mylar are removed. You can now see what color the wood will take on when the boat is done and see how the fiberglass completely disappears. Now the joint is smoothed and excess epoxy removed. I have found that a shave hook or carbide paint scraper works best. It can remove material much faster than sandpaper and is easy to use if kept sharp. When this side of the joint is prepared, the panels are flipped over and the same thing is done to the other side.
As I mentioned earlier there are short panels that must be attached near the stern. The technique is exactly the same and after the joint is complete on one side the panels are flipped over and the process repeated. |
|
