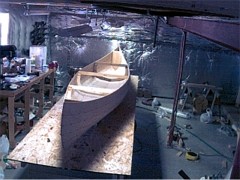
In the same way I stitched in the remaining panels and then added the solid forms near the bow and stern. Suddenly a lovely canoe has appeared on my table! I just keep walking around and around looking at it from all angles. Very lovely...
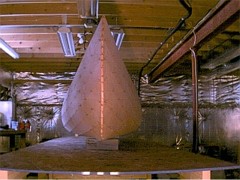
From the bow she looks like a small Viking ship. Near the stern you can see the seam where the panels were joined. When the epoxy and glass are applied this seam will nearly vanish. Then I followed the instructions and applied some beads of hot glue to the forms which will keep them in position when the stitches are removed later.
From the bow she looks like a small Viking ship. Near the stern you can see the seam where the panels were joined. When the epoxy and glass are applied this seam will nearly vanish. Then I followed the instructions and applied some beads of hot glue to the forms which will keep them in position when the stitches are removed later.
|

|
|
|
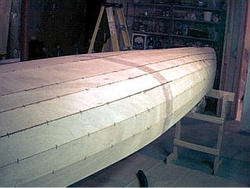
When the stitching was complete the keel seam was carefully checked, aligned and then epoxied. When the epoxy had cured I moved the Taiga from the table to some horses to glue the outside seams.
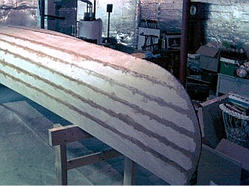
After the outside seams had cured it was time to remove all of the stitches and then add additional epoxy to any gaps. Finally, thickened epoxy is applied to all of the seams to fill any areas that might result in air spaces under the glass. Now all of the outside seams are scraped and I am waiting for a nice day so that I can take the Taiga outside for a light sanding with my rotary orbital sander in preparation for the saturation coat of epoxy. |
|
