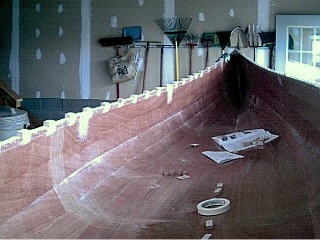
Each breast plate is carefully positioned, clamped and allowed to cure. Nancy and I then moved Taiga to the garage to prepare for the installation of the gunwales. At this time I trimmed the bow and stern to match the breast plate and sanded the edges where the gunwales will be attached.
|
|
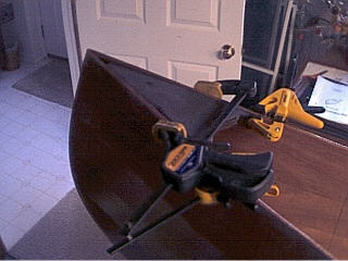
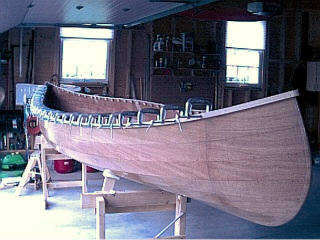
It is good to do a dry clamp up of the gunwale to be sure you are all set. For example, I hedged on buying 35 c-clamps thinking my PVC clamps would be just fine. I am sure some of you will go without, but 35 c-clamps are really the ticket. Once I was satisfied with the dry clamp up I made a pencil mark every 5.5 inches to mark the location of the clamps. I then removed a bit more than half the clamps, mixed some thickened epoxy and painted it on both surfaces to be joined. I re-clamped this epoxied half and then did the same process for the second half. This worked very well for someone who is working alone.
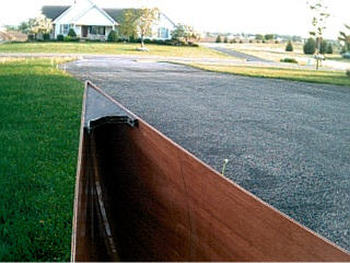
The outwale on the other side is done in the same way. I think that you have to agree that 35 3 inch c-clamps are pretty impressive.
The outwale on the other side is done in the same way. I think that you have to agree that 35 3 inch c-clamps are pretty impressive.
|

|
|
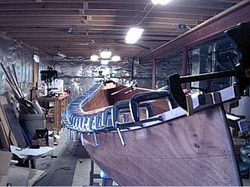
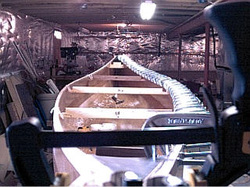
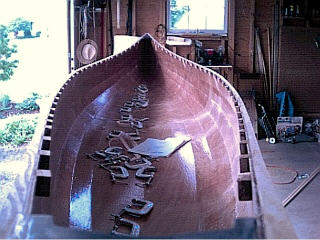
Now it is time to install the spacers. I put down a strip of masking tape on each outwale for doing the layout. I first marked the locations of the mounting holes for the thwarts and seats because a spacer will go at each of these points. I then evenly spaced the remaining spacers along the gunwale until I was happy with the look and marked the location on the tape. Then the mounting point for each block is sanded to assure a good bond and it is time to epoxy and clamp.
|
|
|
